

5 Quick Steps for Installing CPVC Pipes
Installing CPVC pipes and fittings is quick and easy. You can connect the pipes with solvent cement welding and inexpensive tools. Also, CPVC is much safer than green pipe (PPR) since it doesn’t require heat fusion techniques or torches, so it’s easier to install in tight places.
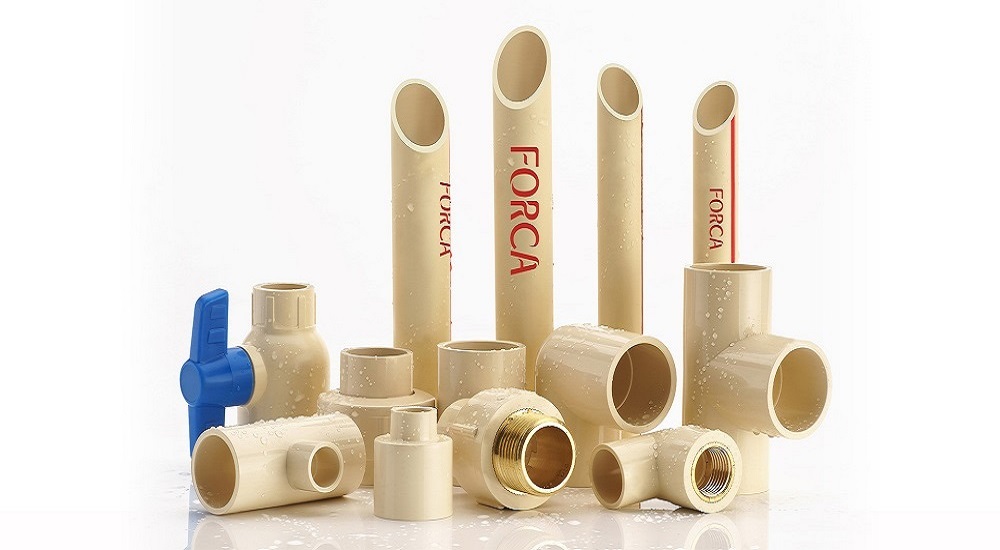
Alternatively, you can connect CPVC pipes and fittings suppliers in India for a quick installation. You can also do it yourself in a few ways. Depending on their size, pipes can be threaded or flanged together to form a strong and durable joint.
However, solvent cement welding works best most of the time. This process doesn’t use glue. Instead, it’s a quick, easy installation method that chemically bonds the fittings and pipes together, forming a continuous piece from the molecular level up.
However, the following guide will walk you through 5 simple steps for CPVC pipes and installation.
1. Cutting, Chamfering, and Deburring CPVC
- Use plastic pipe and fitting tools: A power saw, ratchet cutter, or fine-toothed saw preferred plastic cutting tools.
- Square up the CPVC pipe by miter boxing: By cutting the pipe squarely, the bonding surface is maximized. Joints with a more chemically bonded surface area are stronger.
- Cut the pipes with a sharp blade, not a dull one.
- Remove any burrs and filings: Pipes and fittings can get stressed if they’re clogged with burrs and filings. Remove burrs and filings from the inside and outside of the pipe with a chamfering tool.
- End the pipe with a slight bevel: Pipes enter easier with a slight bevel, and solvent cement doesn’t get wiped off as easily. For pipe sizes 2 in. and larger, a 10 to 15° chamfer of 3/32 in. is recommended.
2. Solvent cement fitting preparation
If the fitting socket or pipe end has loose soil or moisture, wipe them with a clean, dry rag: Moist soil can prolong cure times and reduce joint strength. You should ensure the pipe fits well by checking that it can enter the fitting socket quickly 1/3 to 2/3 of the way down.
3. Applying primer
A bonding area must primed before cement can added and assembly can follow. Ideally, applicators such as daubers, swabs, or paint brushes should be half the diameter of the pipe.
Ensure you primer the inside and outside of the fitting socket and pipe end. A second primer coat should applied to the fitting socket. Be sure to re dip the applicator as often as you need to get tacky surfaces on both pieces.
4. Cementing with solvents
- Put solvent cement on tacky primer (but not wet). Apply a softening agent to the joining surfaces.
- Use a natural bristle brush or cotton swab the pipe size to apply cement.
- Use a dauber if the pipe is smaller than 2 in.
- Coat the outside of the pipe end and the inside of the fitting socket with cement. For pipes bigger than 2 inches, you need a second coat of cement.
5. Assembling
- Put the pipe in the fitting socket and turn it between 1/8 and 1/2 turns after cementing. You should align the fitting at this point.
- Fitting sockets and pipes must meet at the bottom. Once the assembly installed, hold it for 10 to 30 seconds to make sure the bond is good and prevent pushout.
- Make sure there’s a bead of cement around the pipe and fitting junction. Wipe away any solvent cement left behind.
Summary
Following this guide will free you from CPVC pipes and installation hassle. Follow the steps above, and you done. If you have trouble installing it, contact CPVC pipes and fittings Delhi.